Create Microsoft Entra ID Application based on a Self-Signed Certificate
This guide describes how to migrate SharePoint authentication from ACS to Microsoft Entra ID (S2S) by using a self-signed certificate.
Create a self-signed certificate
Option A: Export certificate with password (BC25 and later)
Use this option if your Business Central version supports password-protected PFX files (BC25 and later).
Run the following commands in PowerShell as Administrator:
# 1. Create certificate in local machine store (valid for 2 years)
$cert = New-SelfSignedCertificate -DnsName "BC-SharePoint-S2S" -CertStoreLocation "cert:\LocalMachine\My" -NotAfter (Get-Date).AddYears(2) -KeySpec Signature
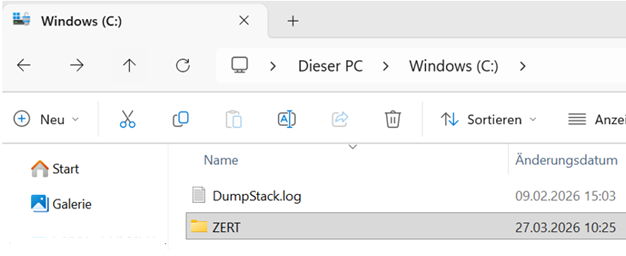
# 2. Create folder
New-Item -ItemType Directory -Force -Path "C:\ZERT"
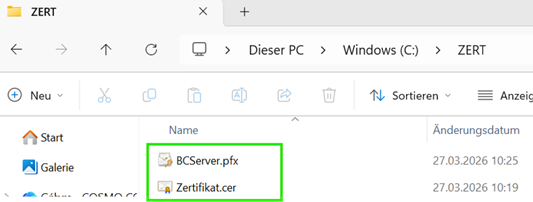
# 3. Export public part (.cer)
Export-Certificate -Cert $cert -FilePath "C:\ZERT\Zertifikat.cer"
# 4. Prepare password as SecureString
# Replace "CertPass#26" with your own strong password.
$pwd = ConvertTo-SecureString -String "CertPass#26" -Force -AsPlainText
# 5. Export private key (.pfx)
Export-PfxCertificate -Cert $cert -FilePath "C:\ZERT\BCServer.pfx" -Password $pwd
Option B: Export certificate without password (before BC25)
Important
In versions before Business Central 25, there is a limitation: certificates work only without a password. In this case, export the PFX file without a password.
# 1. Create certificate in local machine store (valid for 2 years)
# KeyExportPolicy is set to Exportable so that PFX export works.
$cert = New-SelfSignedCertificate -DnsName "BC-SharePoint-S2S" `
    -CertStoreLocation "cert:\LocalMachine\My" `
    -NotAfter (Get-Date).AddYears(2) `
    -KeySpec Signature `
    -KeyExportPolicy Exportable

# 2. Create folder if it does not exist
$exportPath = "C:\ZERT"
if (!(Test-Path $exportPath)) {
    New-Item -ItemType Directory -Force -Path $exportPath
}

# 3. Export public part (.cer)
Export-Certificate -Cert $cert -FilePath "$exportPath\Zertifikat.cer"

# 4. Prepare empty password
$emptyPwd = New-Object System.Security.SecureString

# 5. Export private key (.pfx) WITHOUT password
Export-PfxCertificate -Cert $cert -FilePath "$exportPath\BCServer.pfx" -Password $emptyPwd
Configure in Microsoft Azure portal (Microsoft Entra ID)
- Go to App registrations and select your app. If needed, create a new Microsoft Entra app registration. Record the Application (client) ID and store it securely.
- Go to Certificates & secrets, select Upload certificate, and upload Zertifikat.cer.
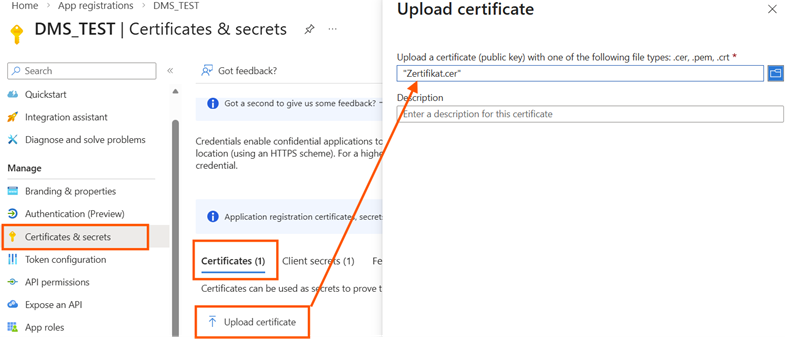
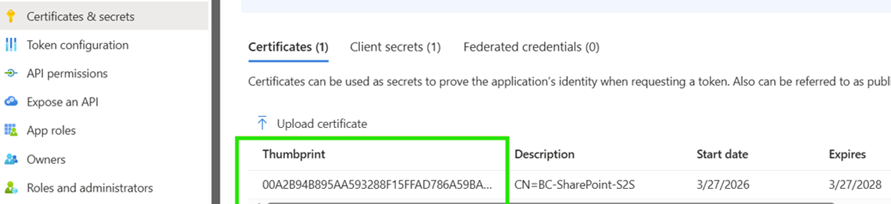
After confirmation, the certificate is successfully added:
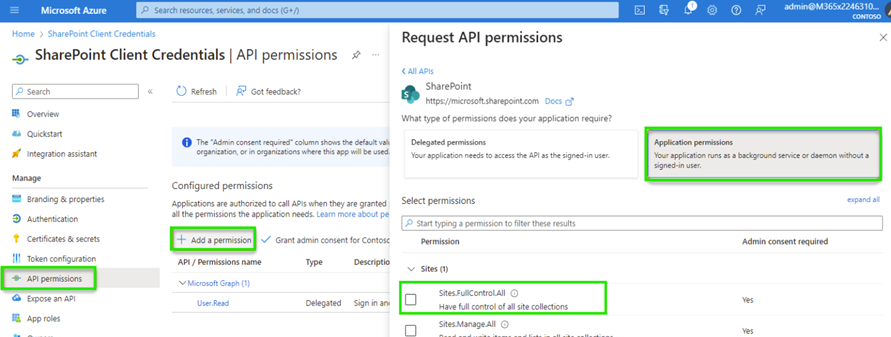
- Configure API permissions:
- Add a permission -> SharePoint -> Application permissions
- Select Sites.FullControl.All
- Select Grant admin consent for [Tenant]
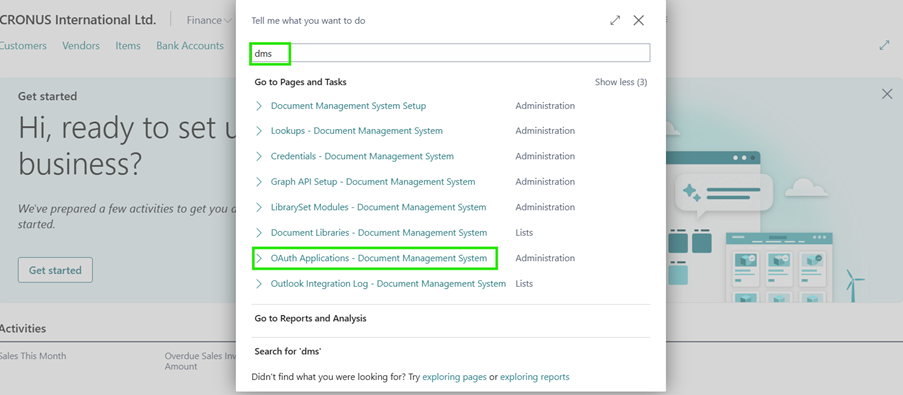
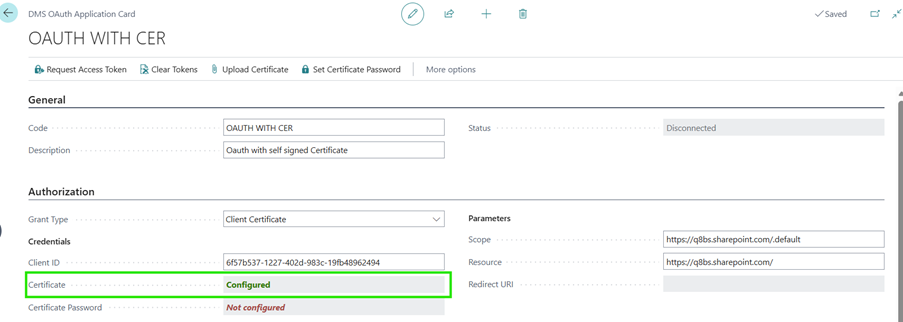
Configure the DMS OAuth application in Business Central
- Open the OAuth Applications - Document Management System page and create a new OAuth application.

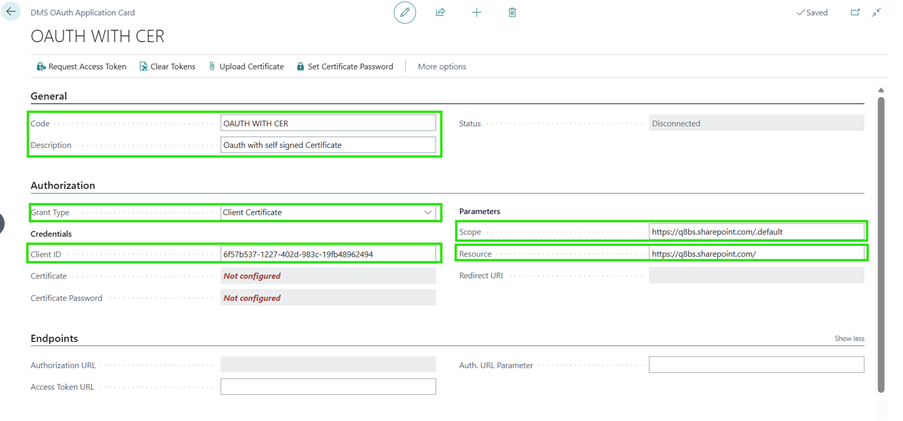
- Set the following values:
- Authorization method: Client Certificate
- Client ID: Microsoft Entra application (client) ID
- Scope:
https://<Your Domain>.sharepoint.com/.default - Resource:
https://<Your Domain>.sharepoint.com/
- Select Upload certificate and upload the .pfx file.
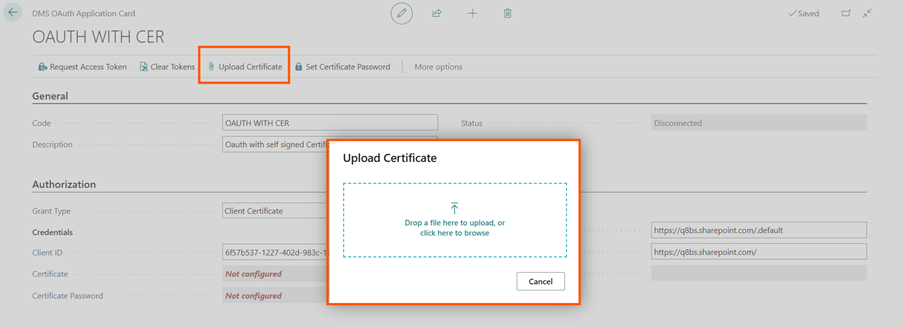
- After upload, the certificate is registered (status: Configured).
- Select Set Certificate Password and enter the password. If you exported the PFX file without a password (before BC25), skip this step.
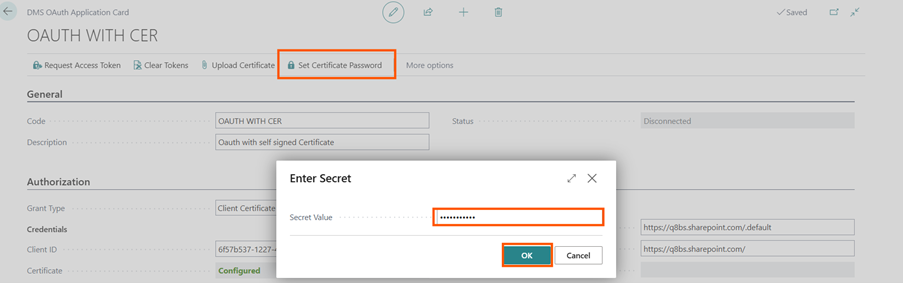
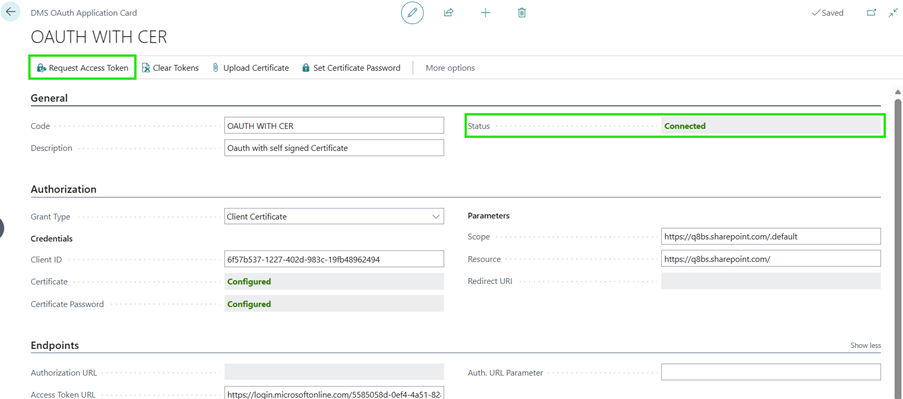
- The certificate password is set successfully (status: Configured).

Set the Access Token URL to:
https://login.microsoftonline.com/<Tenant ID>/oauth2/token

- Test the connection with Request Access Token.
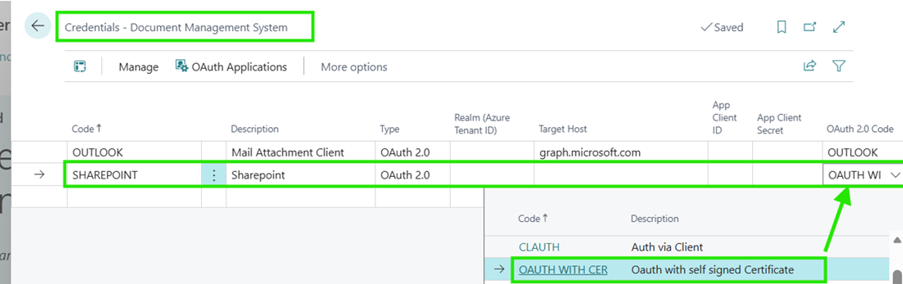
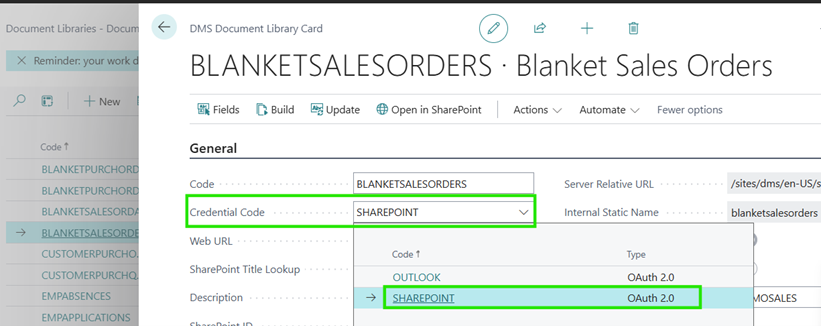
- Finally, configure the new authorization method on the Credentials - Document Management System page and then use it directly in your libraries.
Feedback
Submit feedback for this page.