VS Code Extension Setup
One of the clients that give you access to COSMO Alpaca is the VS Code Extension. Before setting it up you might want to create an organization beforehand.
Note: The VS Code extension is therefore also easily usable by non-technical users in the browser via vscode.dev.
For a complete installation guide, see VS Code in the browser.
Installation
- Open Visual Studio Code. If you don't have it installed, you can get it for free here
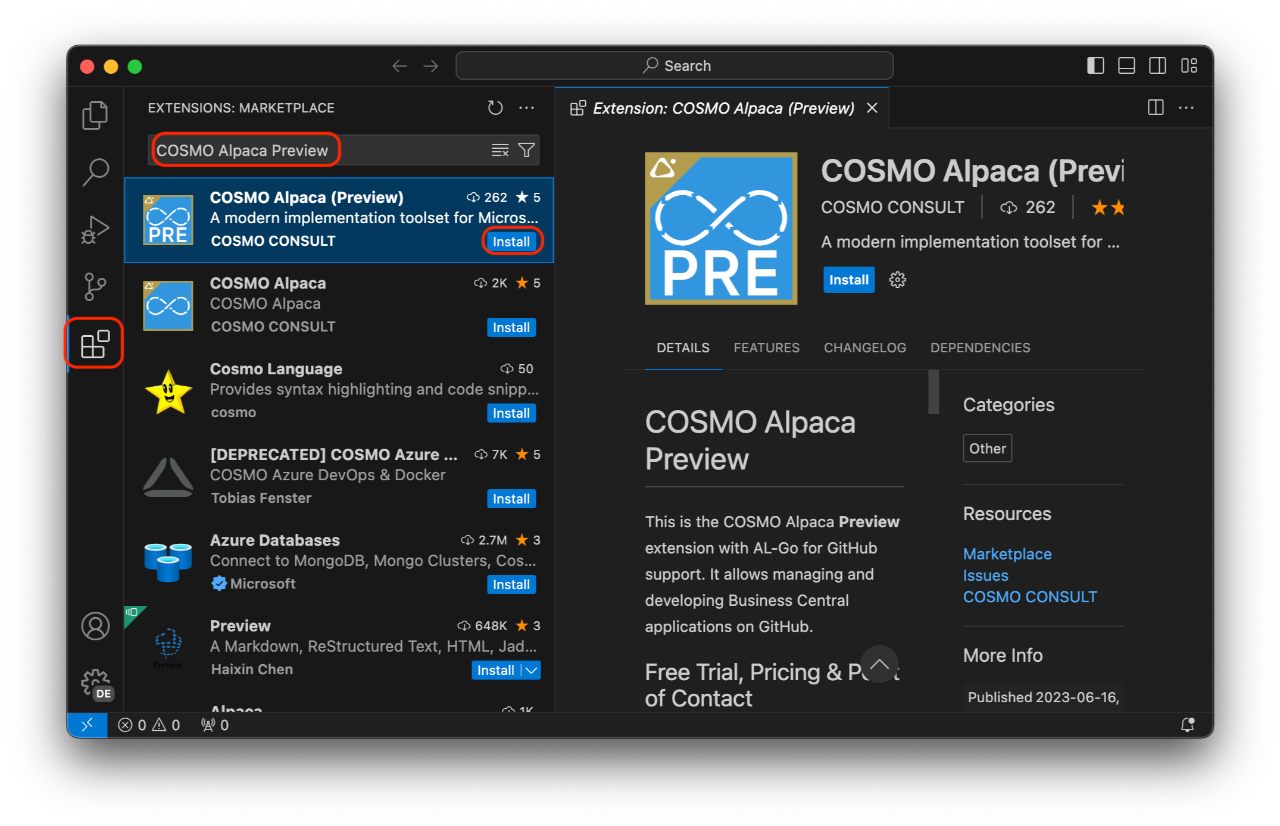
- Go to the extensions view in the activity bar
- Search for and install the COSMO Alpaca Preview extension
- Wait until the installation has finished, you might have to reload the VS Code window
- Afterwards you should see the extension in the list of installed extensions
First Use
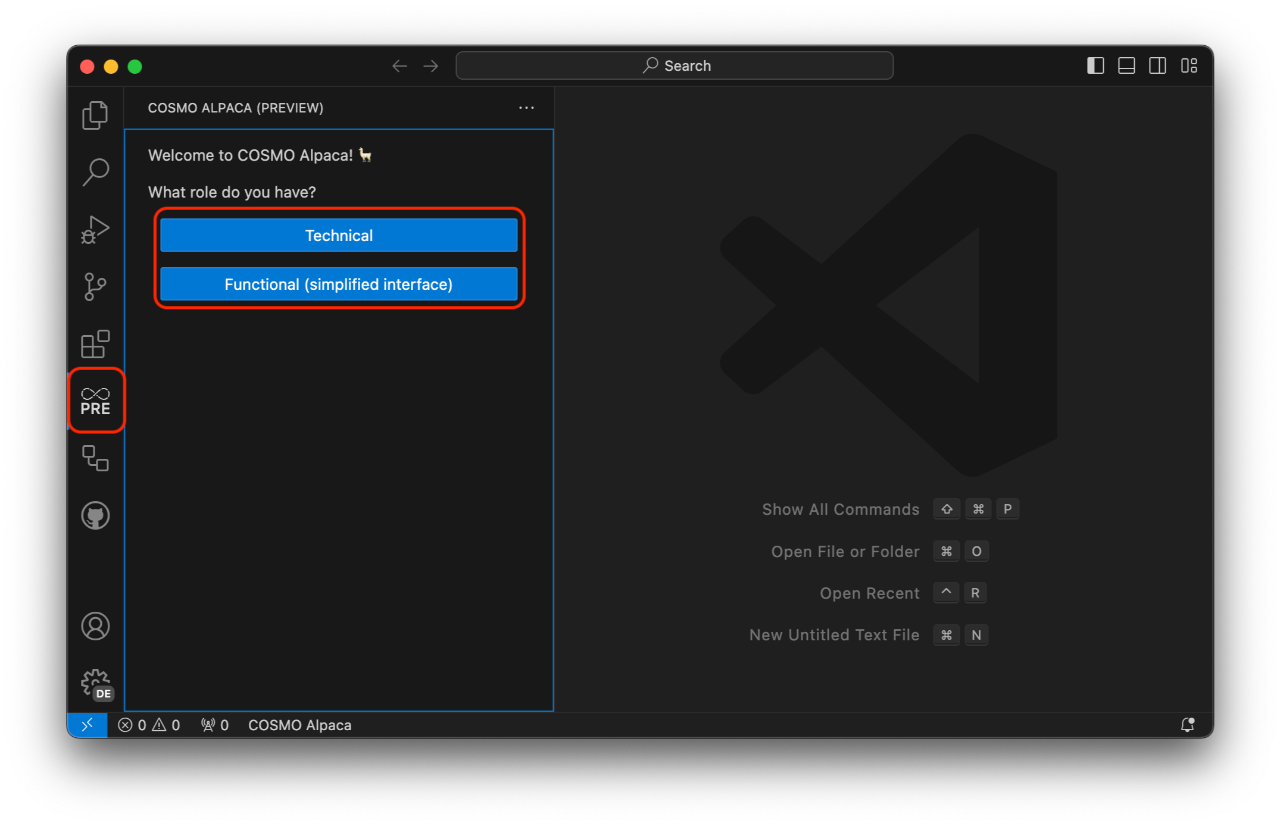
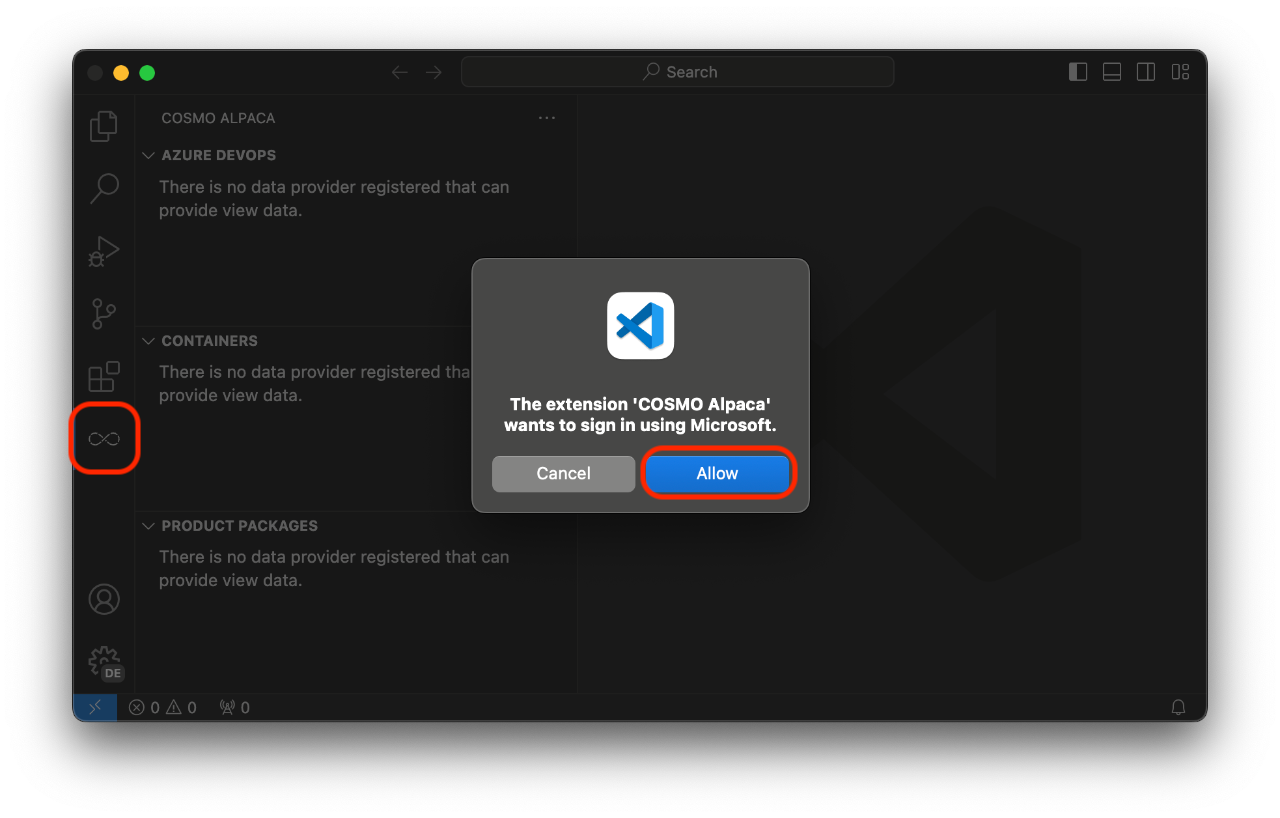
To open the COSMO Alpaca Preview extension, click the respective icon in the activity bar. On the first use you're asked for your role and whether you want to use Azure DevOps or GitHub as a platform.
Depending on what platform you choose you'll be asked to sign in with your GitHub or Microsoft account. Check the other tab in the documentation for Azure DevOps, we'll go with GitHub here.
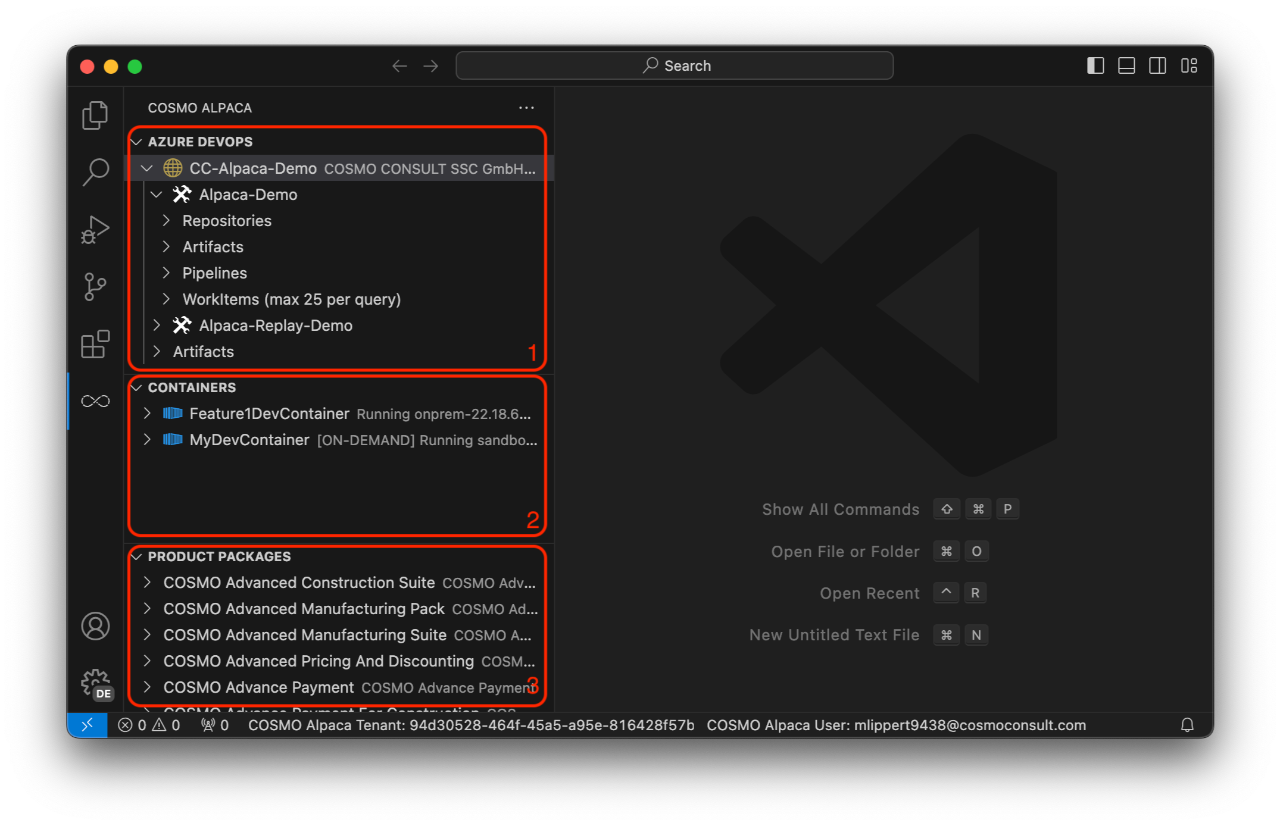
Now you can make yourself familiar with the interface:
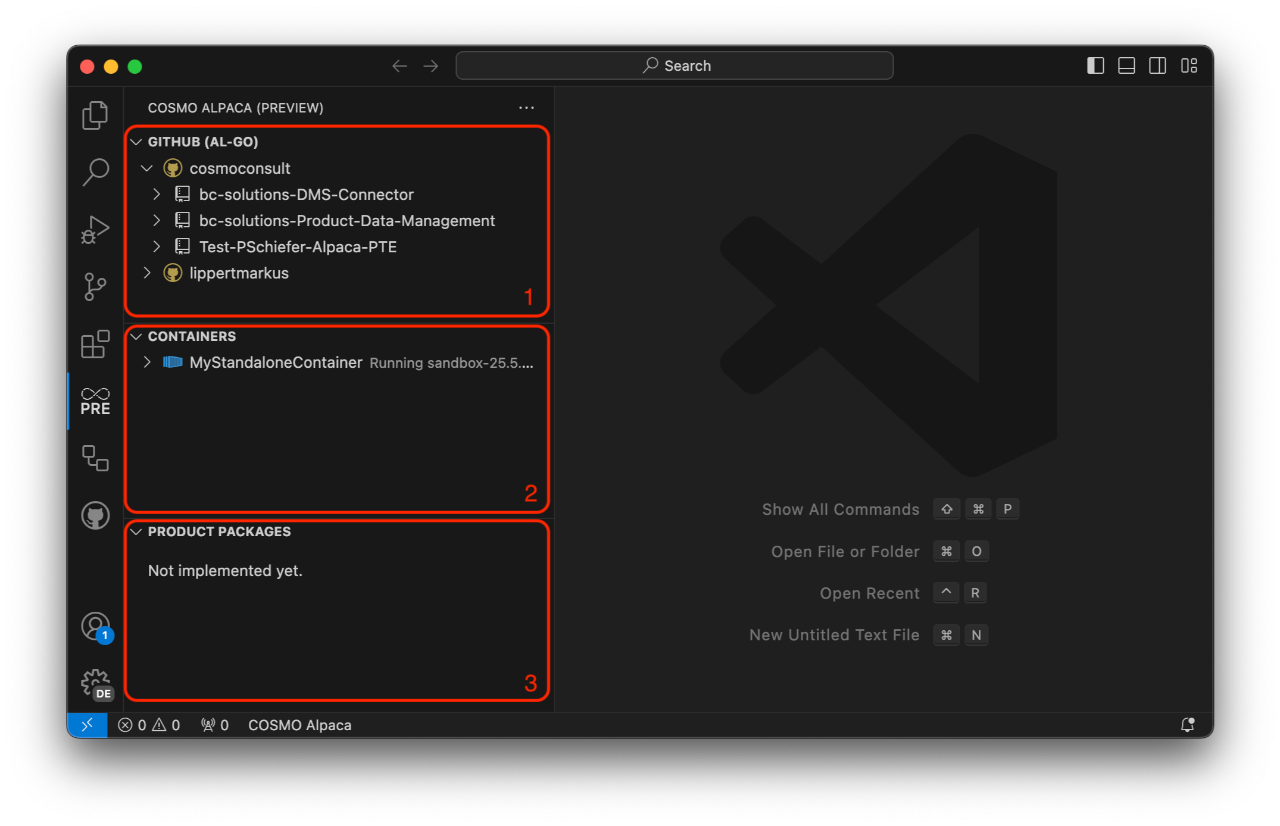
- The GitHub View let's you navigate through your Azure GitHub organizations, accounts, repositories and more.
- The Containers View shows you all your containers across all your organizations and accounts along with their state and details.
- The Product Packages View isn't currently implemented. In the future it will show shows product packages that you often need during development. The feed from which the packages are fetched will be configurable.
You now may want to go through the walkthrough to get a first impression of COSMO Alpaca.